‘Construction Techniques’ Tag

Concrete Formwork

Photo Credit: Alex Mead

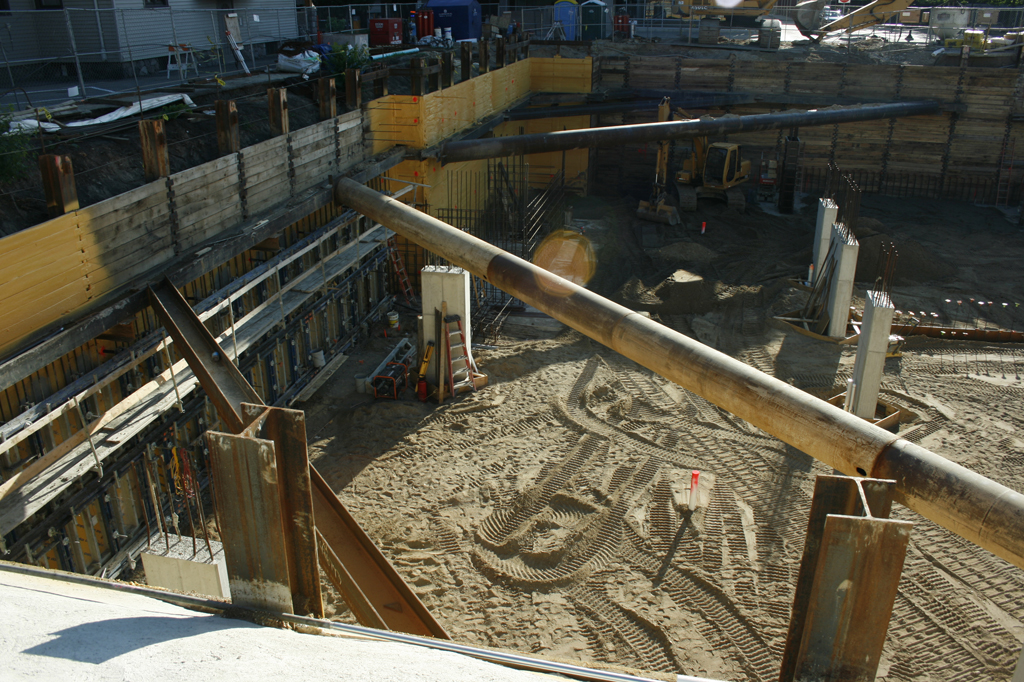
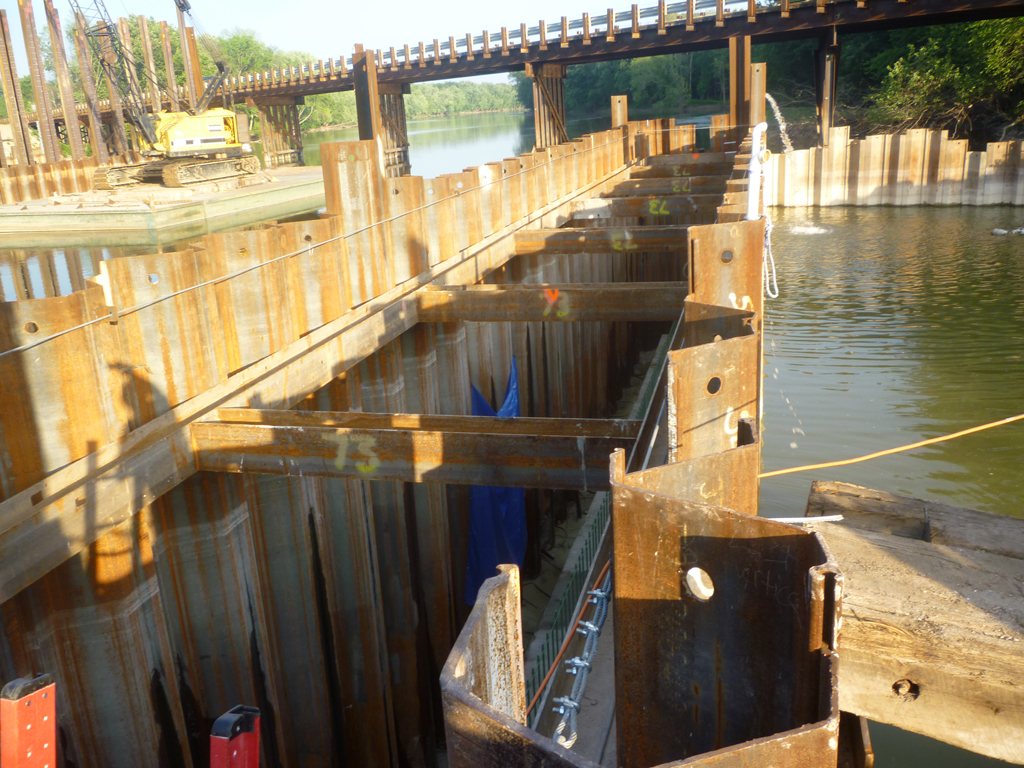
Seen here is concrete formwork that has just arrived on a construction site and is ready for use. These flat formwork pieces are used for things like walls or elevated slabs, where a flat surface will be needed. Form pieces like this are fairly straight forward to build, however, require some space and are best constructed in an assembly line type method. However, space on many projects, like this underground parking structure, is at an absolute premium. Thus, many times these types of formwork pieces are constructed off site at a location with “cheap” space. In the construction industry this space at which a company does off site work is commonly referred to as “the shop.”

Corner Notching

Photo Credit: Karl Jansen

Seen here is another construction technique of the early European immigrants to the colonies in America. This technique includes alternating which wall segment continues into the corner, thus improving the structural integrity of the building. This technique is centuries old, and yet it can still be seen in new building construction projects today.

Floor Joist Notching

Photo Credit: Karl Jansen

Seen here is a construction technique of the early European immigrants to the colonies in America. These immigrants brought with them their log cabin making skills. Among these skills included the floor joist notching. You can see on the side of the log cabin that there are notches cut out of the wall in which joists that support the floor, and potentially a loft, where placed.

Masonry Cavity Wall Under Construction

Photo Credit: Alex Mead

Seen here is a cavity wall under construction.  A cavity wall is a type of masonry wall that is a composite of both concrete masonry units (CMU) and bricks or stones.  It works by creating a gap between the building and the façade we see on the street made of bricks or stones.  The black portion of the building is a waterproof coating on the CMUs that inhibits moisture from entering the building. The green (to the left of the black, next to the stones) is screen like material that keeps mortar from falling down the cavity and blocking the drainage ports at the bottom.  The stones or bricks then go on the outside of this screen material to finish the outside of the building.  The stones or bricks are connected to the CMUs by wires that extend and keep the stones aligned vertically, but carry no gravity load.  One advantage of wall construction of this type is the stones or bricks can then move freely with temperature variations and won’t crack or affect the inner CMU wall.  This design also allows for a not perfect water seal to be used on the stones or brick because the waterproofing is the black coating behind the visible finish

Learn more about Cavity Walls

Roof Reinforcement Method

Photo Credit: Jessie Benaglio

In Cinque Terre, Italy, five little towns on the north west coast, has rocks laid in a pattern on the roofs. The rocks help hold the shingles on due from the strong winds that come from the Mediterranean Sea and the winds from the mountains.

Crosslot Bracing

Photo Credit: Alex Mead

Seen here is a textbook example of crosslot bracing of an excavation. Crosslot bracing is used when the horizontal soil pressure of an excavation is simply too high to retained by tiebacks or other method of wall support. One drawback, however, is the need to not hit the braces when working in the excavation. As can be seen at the top right of the excavation an excavator needs to be careful to lower its boom as to avoid striking the steel braces as it compacts fill in the future basement.

Bridge Pier Cofferdam

Photo Credit: Alex Mead

This is a coffer dam used in the construction of a bridge pier. Cofferdams like this one are used to create a dry area so construction can take place on infrastructure that is in the water. A careful eye will be able to see epoxy coated rebar in the bottom of this cofferdam, as well as the water being pumped out near the top right of the picture. Many times cofferdams are not watertight and require nearly continuous pumping.

Concrete Broom Finish

Photo Credit: Alex Mead

Above is a concrete placing crew working on a large mat foundation. The workers must coordinate their efforts in order to complete the job before the concrete cures. The workers near the bottom of the page are consolidating the concrete with vibrators. While another worker, not pictured above, gives the initial leveling with a tool called a screed. The final touch for this rough finish job is a broom finish done by the worker in the orange hard hat.

Rebar and Tension Cables

Photo Credit: Alex Mead

Seen above is the resteel for a reinforced concrete beam in a parking structure laid out before the concrete is poured. The epoxy coated rebars on top (green color) help in beam design by adding ductility to the section. The post-tension tendons (blue color) take the tension force on the bottom of the beam and greatly increase the strength of the beam section. Stirrups are the vertically oriented rebar (green color) pieces hanging from the horizontal rebars. Stirrups are placed at varying intervals to resist the shear force which changes along the length of the beam.